When upgrading your bottom bracket, you have a choice. You can have someone install it for you, or you can do it yourself. No matter who does it, you might have noticed the install didn’t go as well as you had hoped. So, we thought we’d put together a guide that will help navigate the install process – no matter if you do it or not.
Check Compatibility First
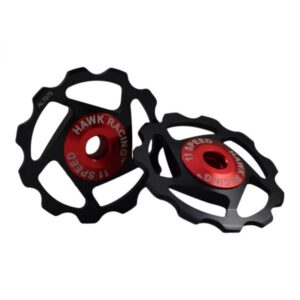
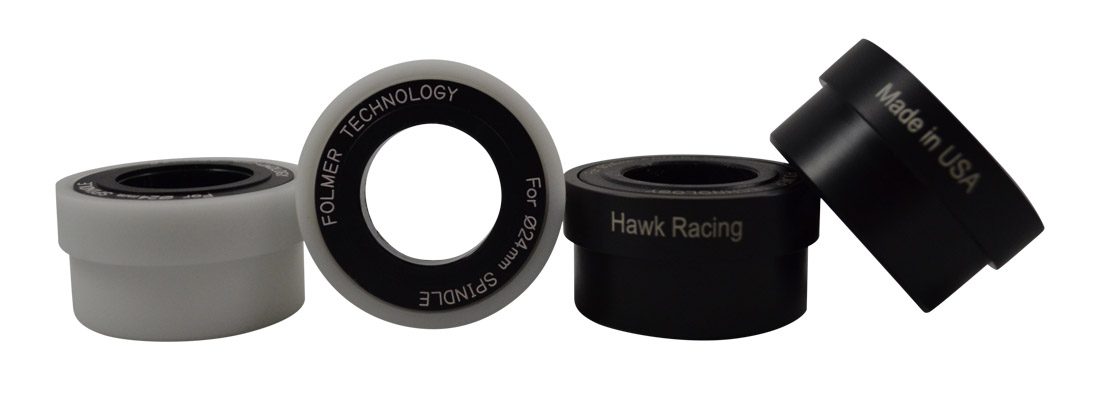
Before diving into the installation process, ensure that the bottom bracket you have is compatible with your bike’s frame. Frames can have different standards like BSA (threaded), PF30 (press-fit), BB30, or BB86. Each type requires a specific bottom bracket design. Additionally, ensure that your crankset is compatible with the bottom bracket. Mismatches in standards, shell width, or spindle diameter can cause significant issues down the line, making installation impossible or prone to damage.
Inspect and Prepare the Frame
Once you’ve confirmed compatibility, inspect the bottom bracket shell on your frame. Clean it thoroughly, removing any dirt, old grease, or debris that could interfere with the installation. For threaded bottom brackets, ensure the threads are clean and in good condition. If the threads are damaged, you may need to re-tap them or consult a bike shop for help. For press-fit models, check the shell for signs of wear or ovalization, as these could prevent the bottom bracket from fitting correctly.
Grease and Lubricate Properly
For threaded bottom brackets, applying grease to the threads of both the bottom bracket shell and the bottom bracket itself is crucial. This helps with installation and future removal, reducing the risk of corrosion and creaking. For press-fit models, grease the shell lightly before pressing in the cups. Grease not only assists in installation but also minimizes the chance of noise from the bottom bracket during use.
Address Alignment Issues
One common problem during bottom bracket installation is misalignment. For threaded bottom brackets, make sure the cups go in smoothly. If you feel resistance or the cup starts to cross-thread, back it out, clean the threads, and try again. Cross-threading can cause severe damage to the frame, so proceed carefully.
With press-fit models, alignment is equally important. Use the press tool to ensure the cups go in straight and evenly. Misalignment here can cause creaking noises or damage to the shell. If you notice any uneven movement or resistance while pressing in the cups, stop and reassess the alignment.
Diagnosing and Fixing Creaking Sounds
Creaking sounds from the bottom bracket are common, especially if the installation isn’t perfect. If you hear creaking, it could indicate that the bottom bracket cups are not fully seated or torqued to the manufacturer’s specifications. Double-check the torque and make sure everything is secure. Also, consider whether the frame itself may be contributing to the noise. Issues such as an ovalized shell or minor imperfections in the frame can cause problems.
For press-fit models, you may also need to use additional components like retaining compounds to secure the cups. These compounds act as adhesives that keep the cups firmly in place and reduce creaking caused by small movements.
After reinstalling the crankset, test the bike by spinning the cranks. The crankset should rotate freely without resistance or wobbling. If you notice any unusual movement, check the alignment and torque of the bottom bracket and crankset again. In some cases, a small adjustment or reinstallation may be necessary to get everything perfectly aligned.
Share this post: